Hello,
this is going to be my first proper blog post and I am really nervous about it. I have no experience in doing such things and English is not my mother tongue language, but hopefully I will try to get better and better every-time I post.
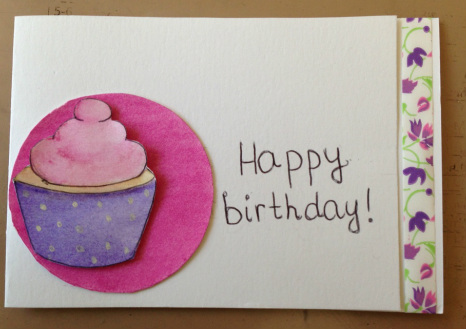
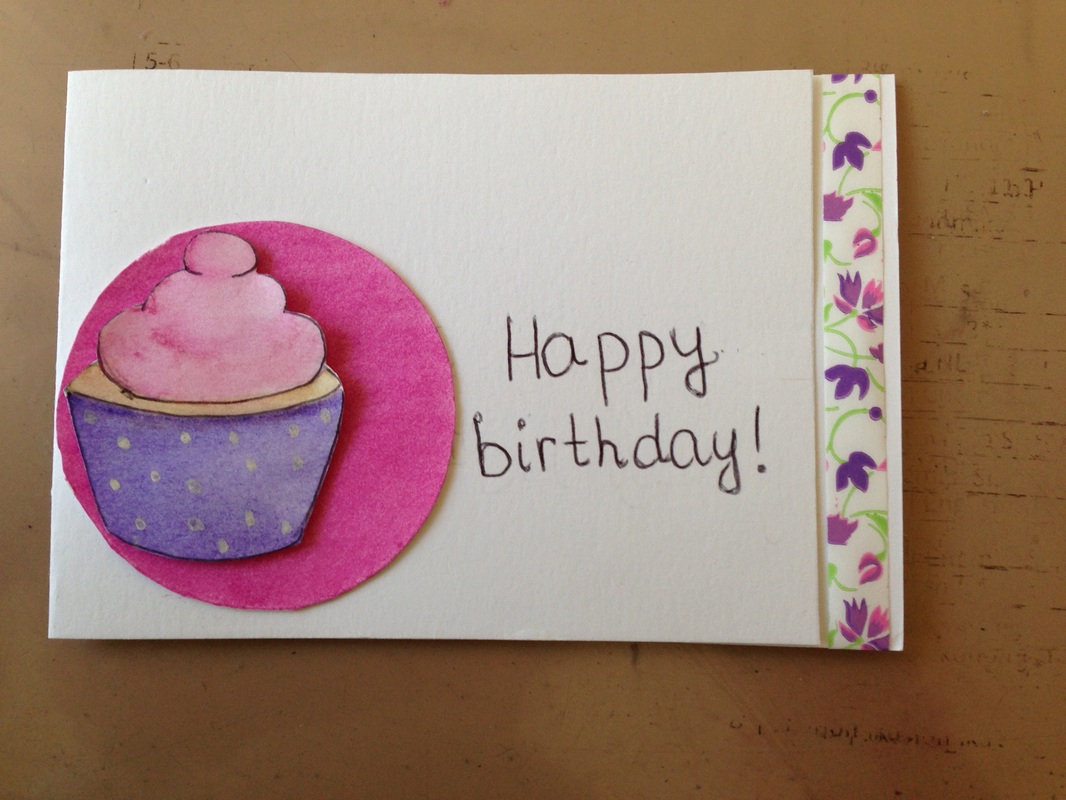
Today's card is for my friend's little sister, who adores cupcakes and pink, so I have made a pretty yet simple card, and let me now show you how I made it :)
this is going to be my first proper blog post and I am really nervous about it. I have no experience in doing such things and English is not my mother tongue language, but hopefully I will try to get better and better every-time I post.
Today's card is for my friend's little sister, who adores cupcakes and pink, so I have made a pretty yet simple card, and let me now show you how I made it :)
Supplies
Process
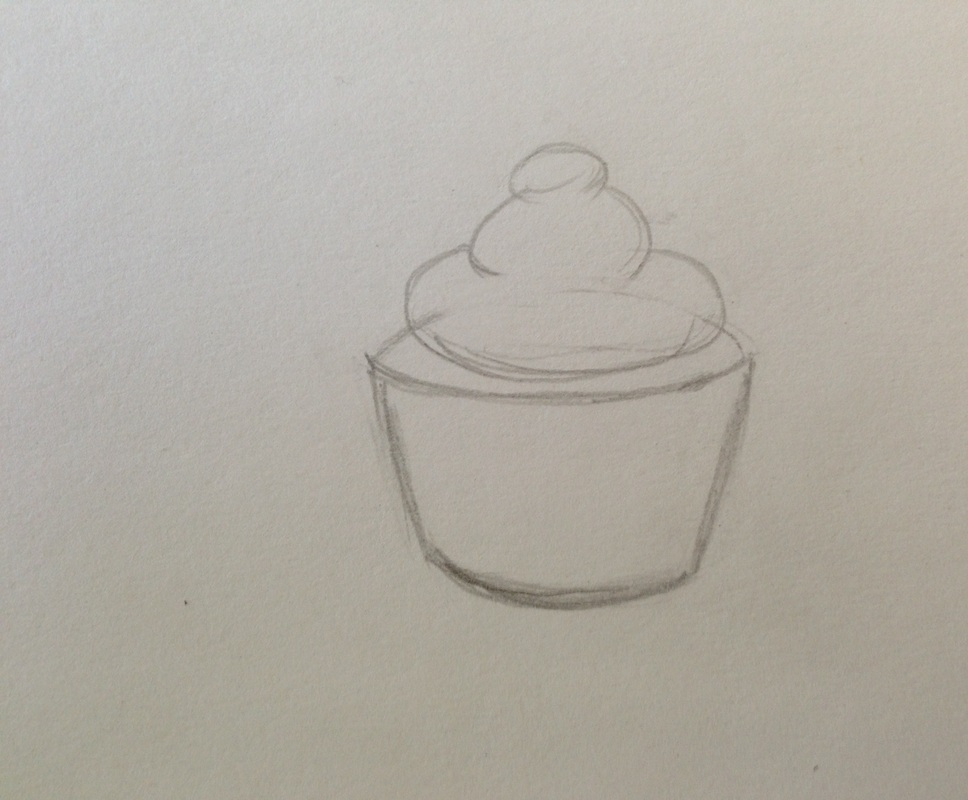
1. I took a piece of used cardstock and lightly sketched the cupcake. I like to begin with drawing a cupcake paper and then go on and sketch the actual cupcake and cream. This may take a few tries to make it look as you want it to, but it will be personalized and cute for sure :). Also, if you have a cupcake stamp, go on and stamp it, you will save your time.
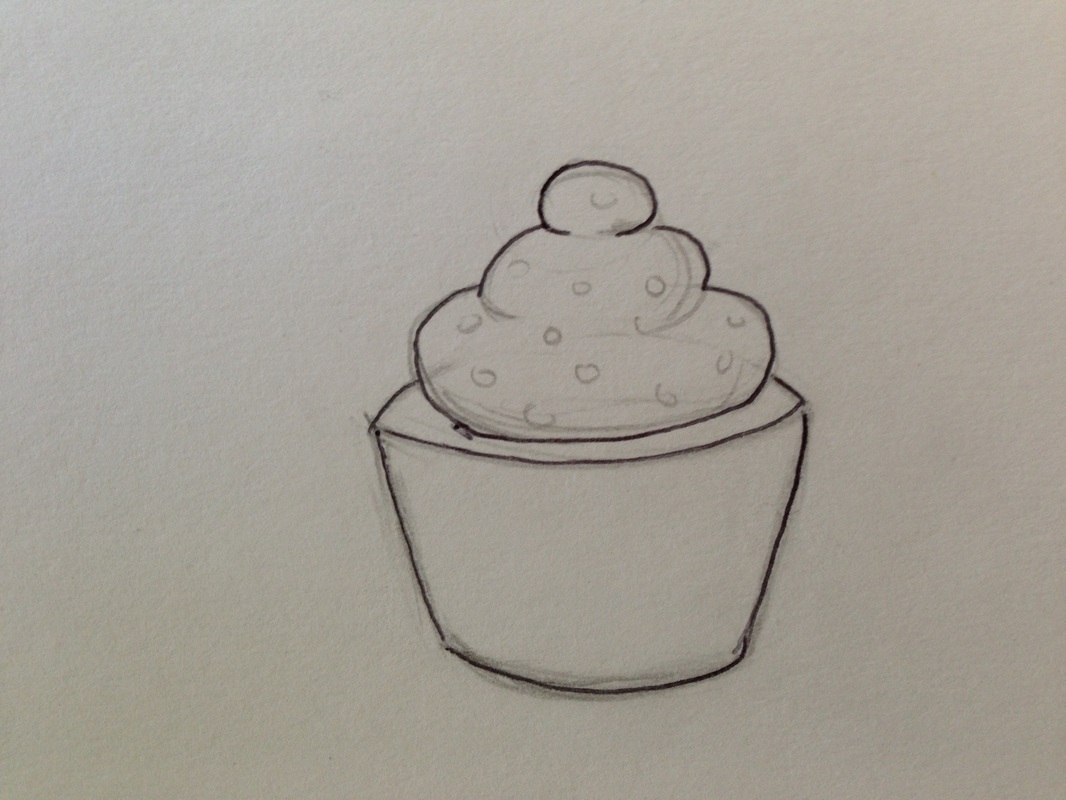
2. When I had the outline of the cupcake, I used a regular black pen (you may substitute it with a marker) and then sketched the outlines once more correctly and after letting the pen to dry, I have erased the unnecessary pencil lines.
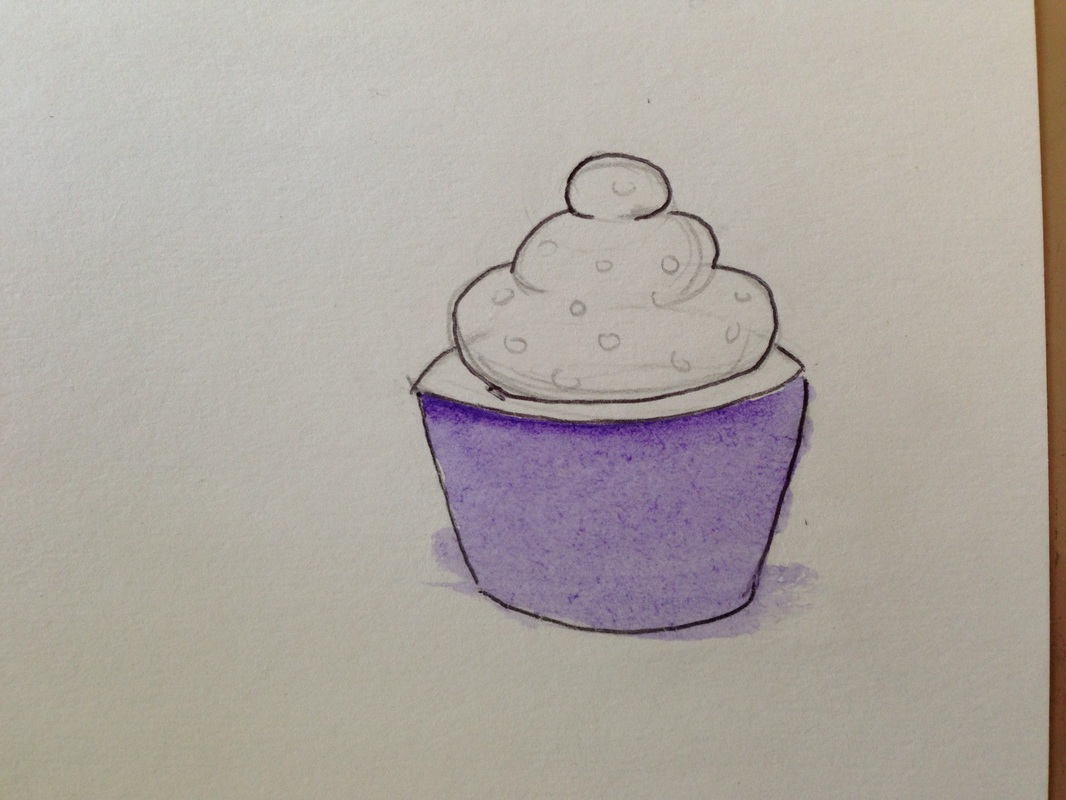
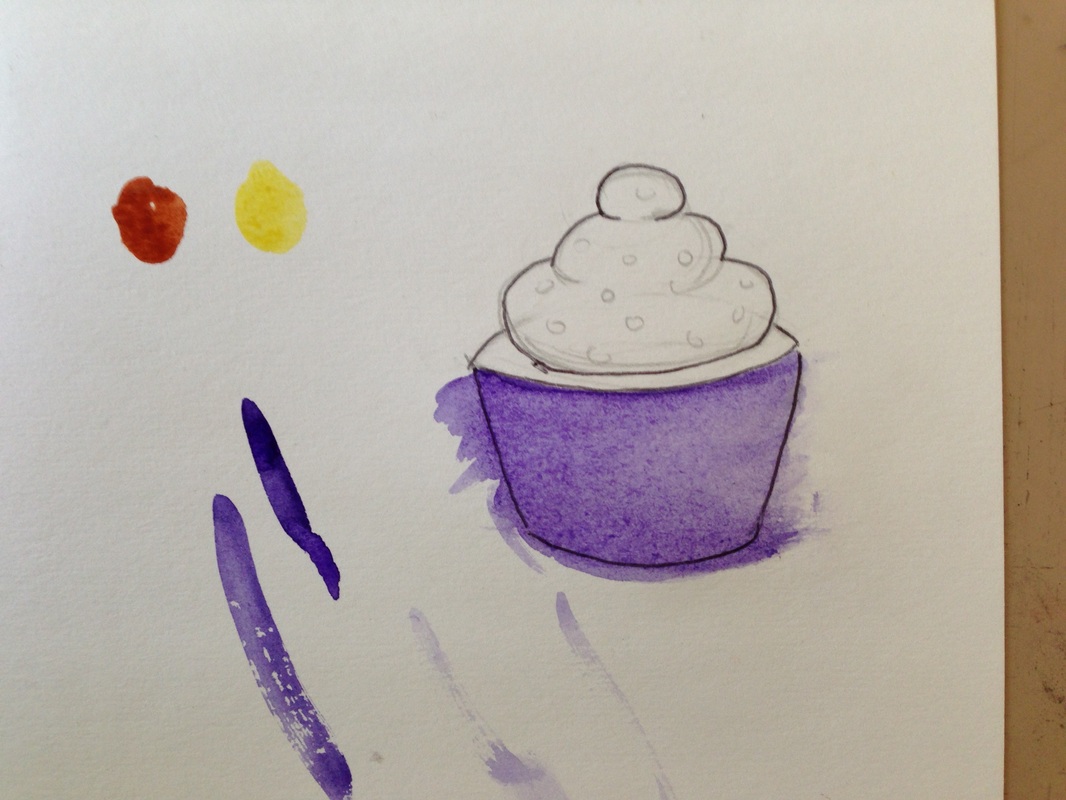
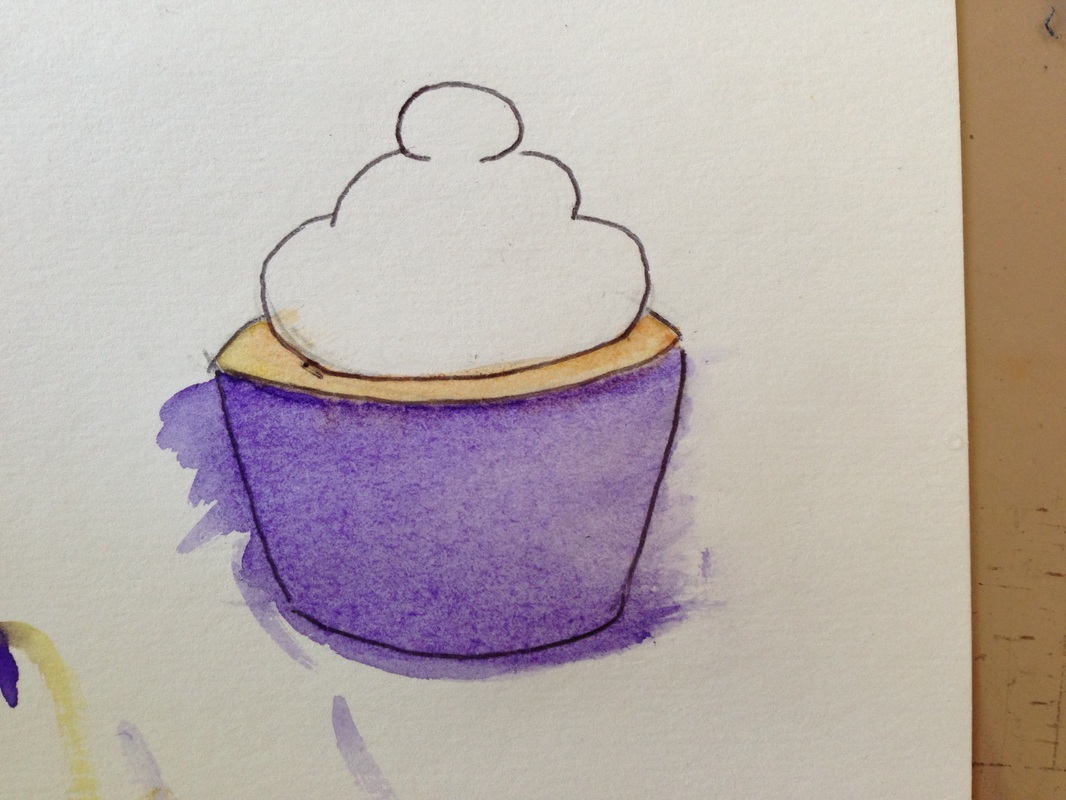
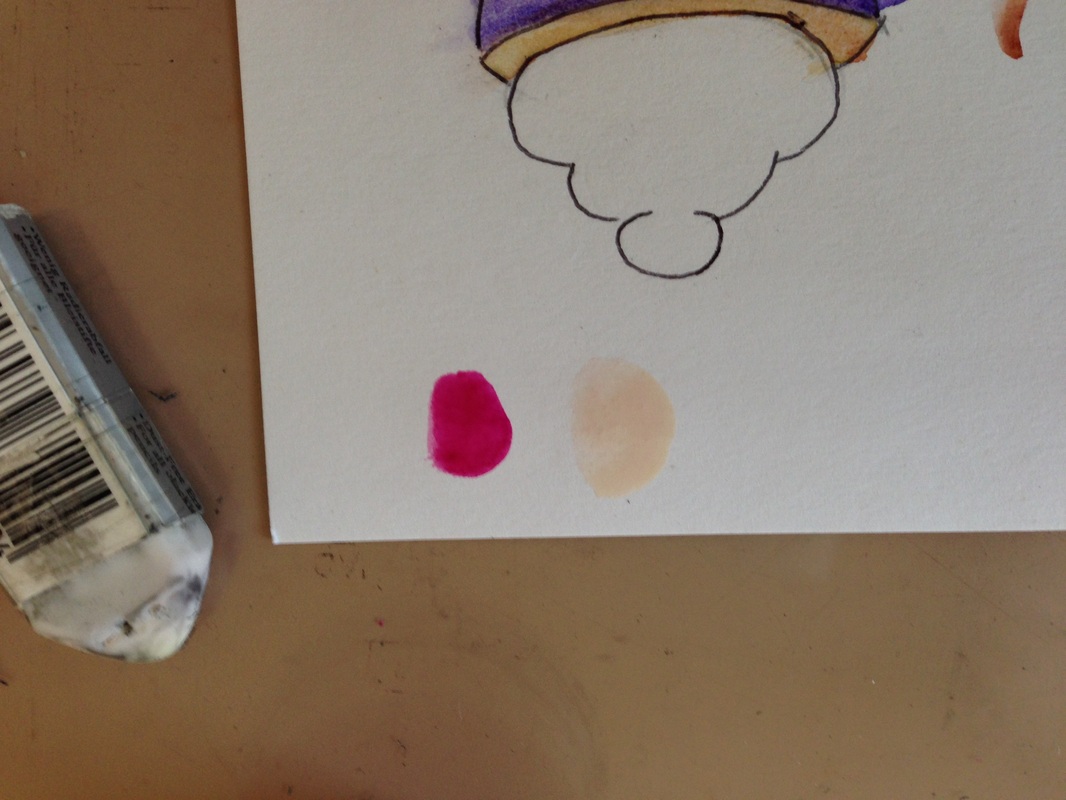
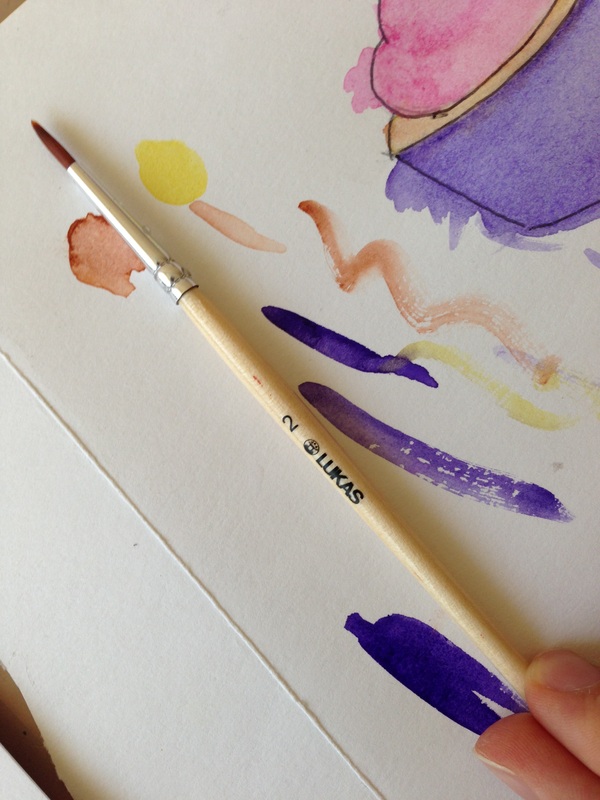
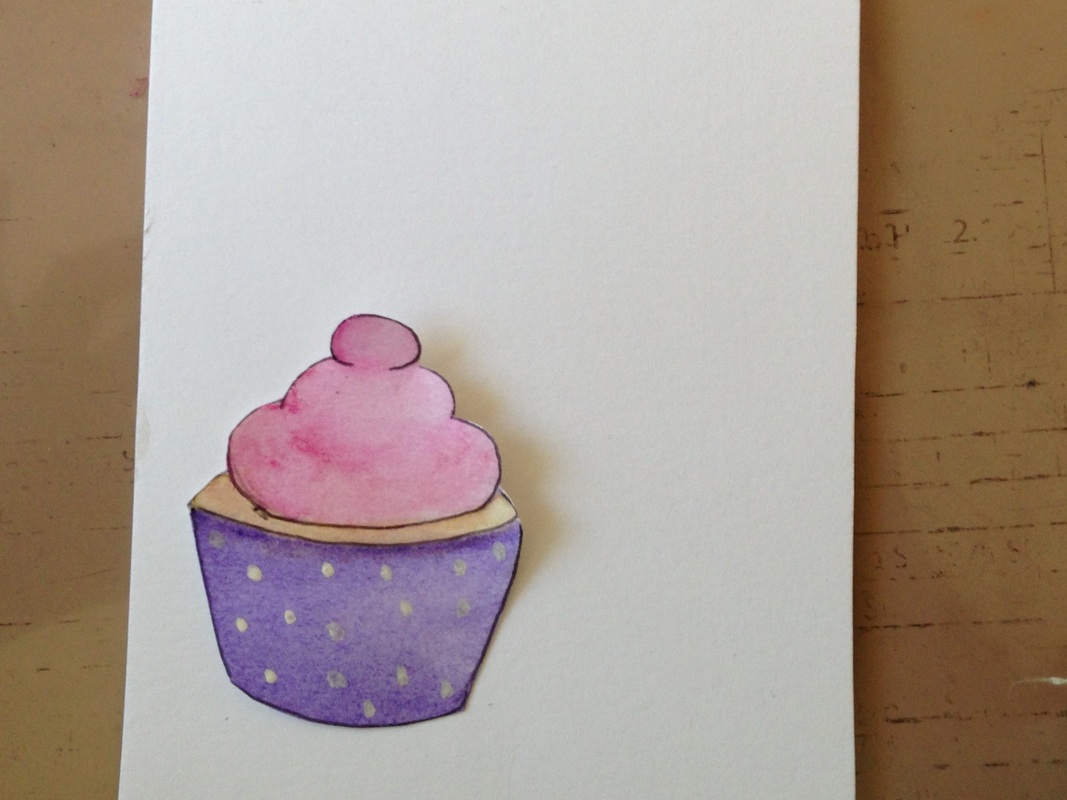
3. YAY, coloring time! I used light purple for the cupcake paper, and made the right side a bit lighter as if the light comes from the right side. I did not mind the lines as I would cut it out later. Also, I colored the actual cupcake using some yellow and brown paint and the cream was supposed to be lightly pink, I also added some shades here and there as well as some white polka dots on the cupcake paper to make it more fun.
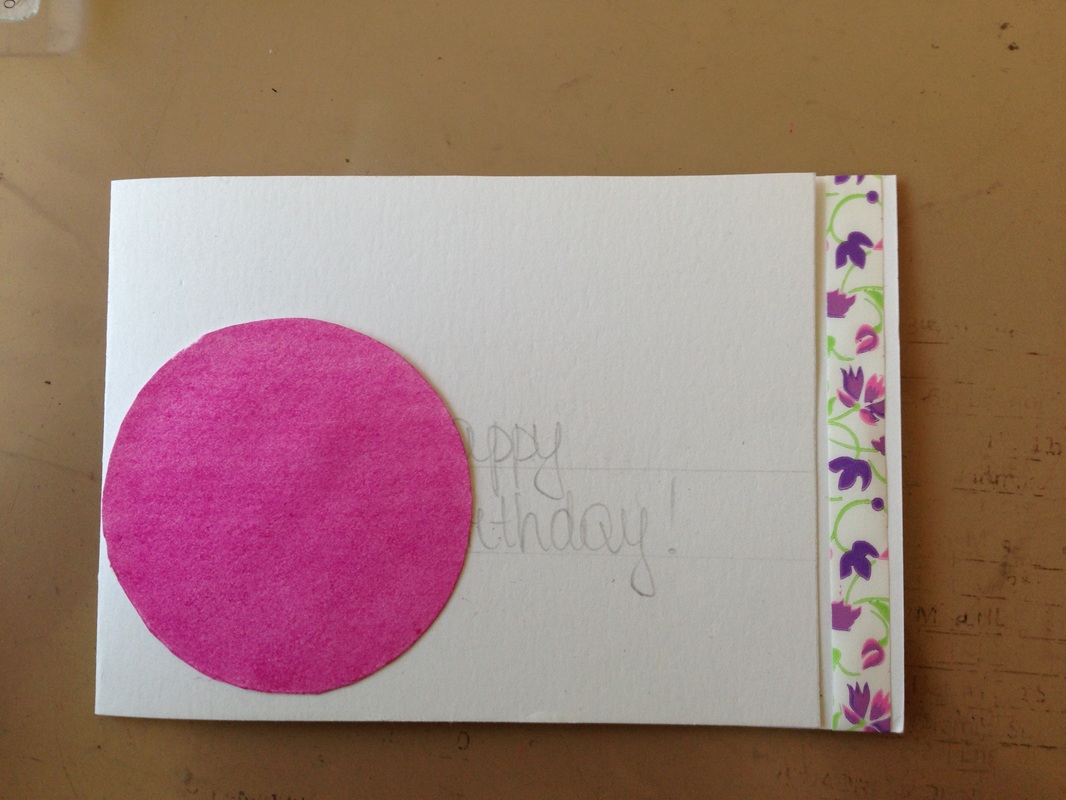
4. Now I cut out the cupcake, after letting it dry completely and decided that I wanted a bright pink circle to go with it. So, I colored the circle I drew with a divider using the same pink as for the cupcake paper, but this time I used less water, so that the color would be brighter.
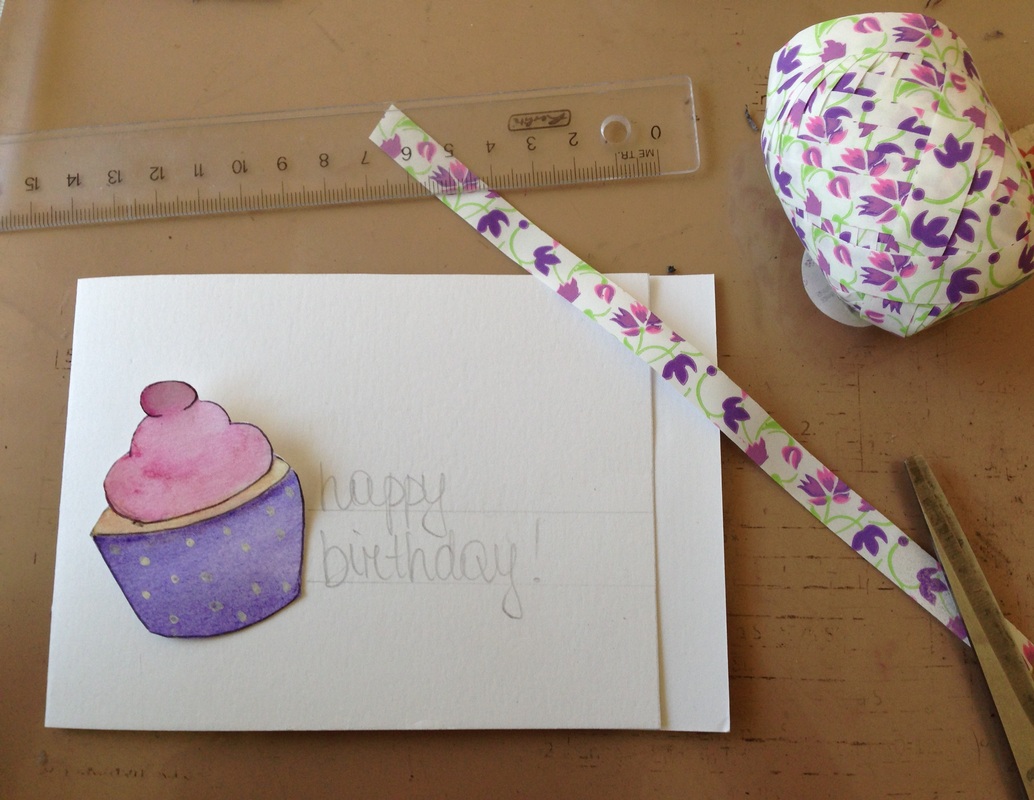
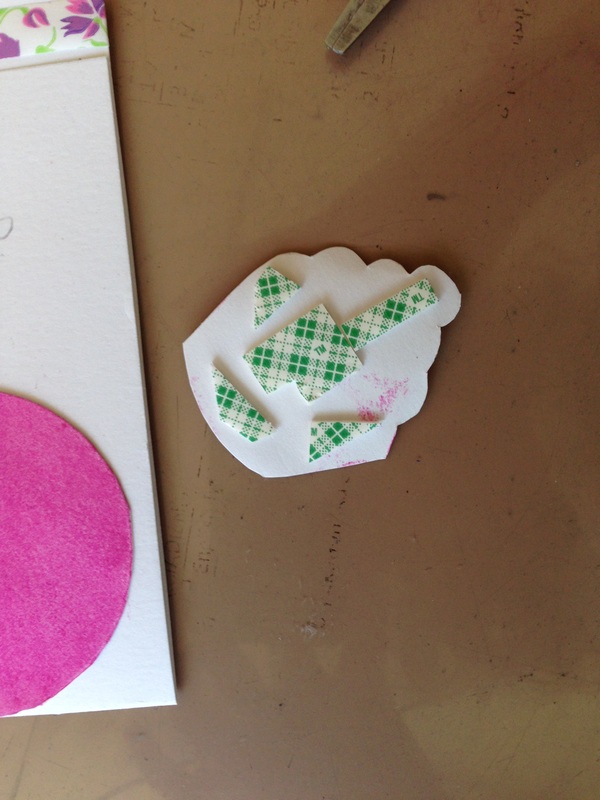
5. The last, but not the least, I have taken a new cardstock and cut a bit of its edge and applied glue as well as a beautiful floral ribbon to it. I also positioned the circle and cupcake with some foam tape at the back and wrote ''happy birthday'', which is not very nicely written, but I hope to get a stamp set for wishes soon :)
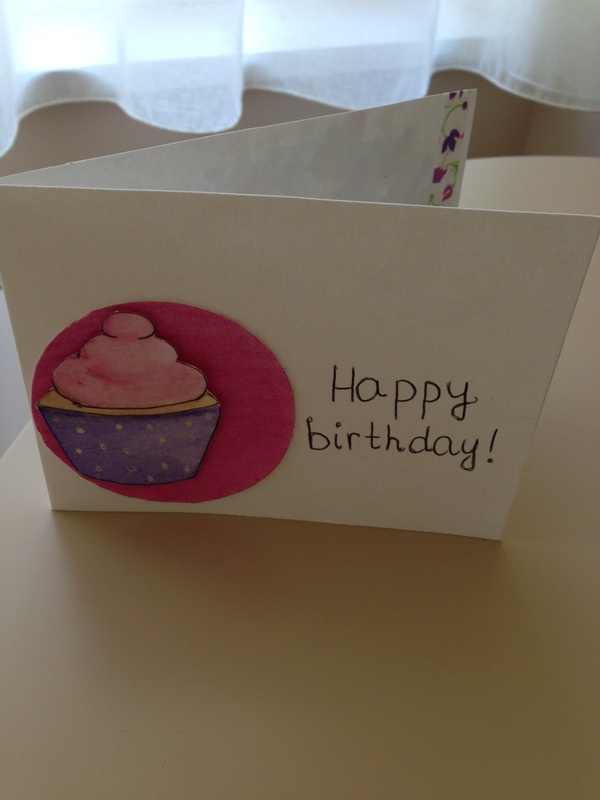
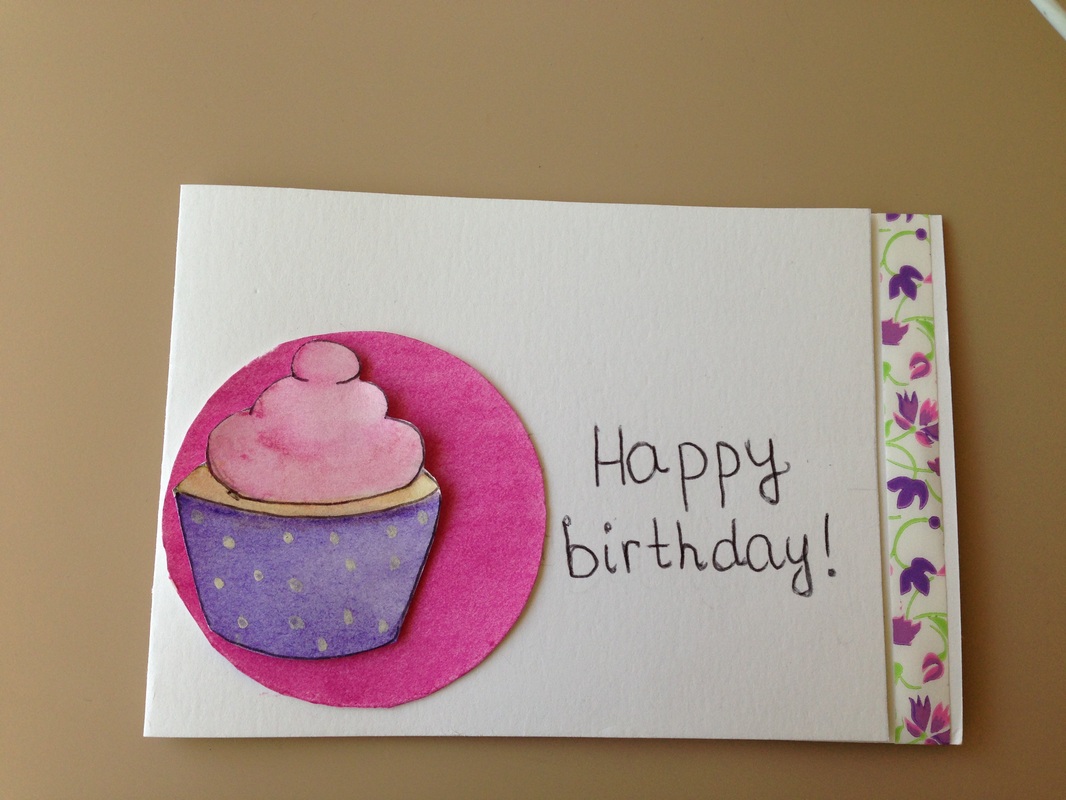
Gallery
- a piece of white cardstock (alternatively, you can use any color you like)
- foam tape
- pencil
- eraser
- black pen or marker
- scissors
- glue
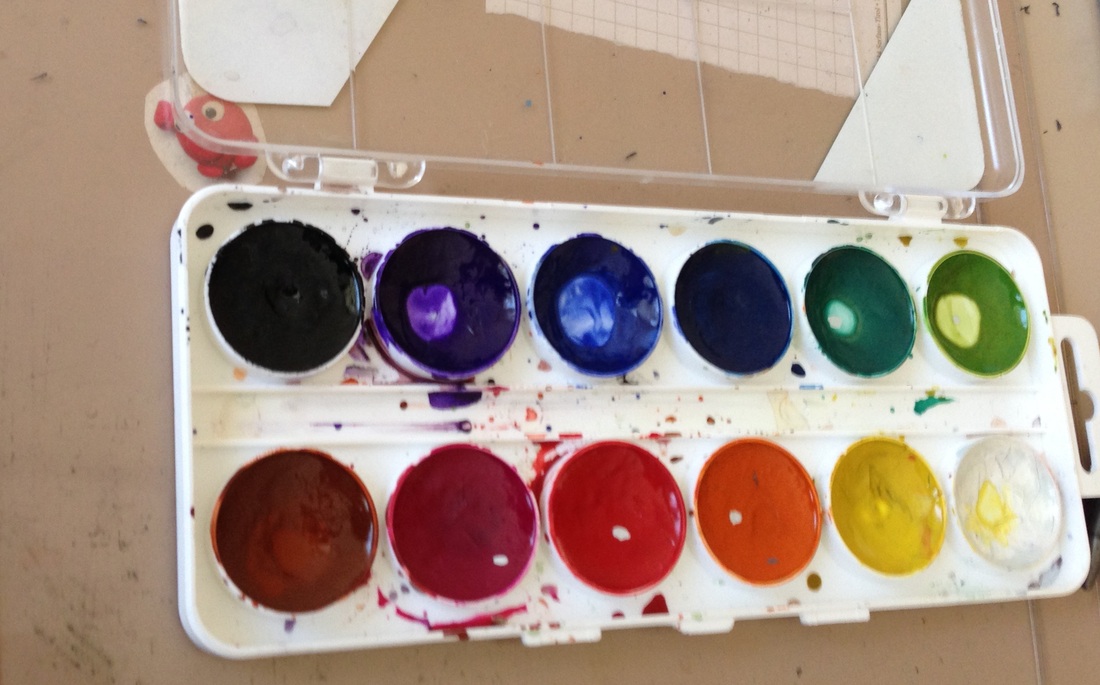
- watercolor paint
- a few brushes
- floral ribbon
Process
1. I took a piece of used cardstock and lightly sketched the cupcake. I like to begin with drawing a cupcake paper and then go on and sketch the actual cupcake and cream. This may take a few tries to make it look as you want it to, but it will be personalized and cute for sure :). Also, if you have a cupcake stamp, go on and stamp it, you will save your time.
2. When I had the outline of the cupcake, I used a regular black pen (you may substitute it with a marker) and then sketched the outlines once more correctly and after letting the pen to dry, I have erased the unnecessary pencil lines.
3. YAY, coloring time! I used light purple for the cupcake paper, and made the right side a bit lighter as if the light comes from the right side. I did not mind the lines as I would cut it out later. Also, I colored the actual cupcake using some yellow and brown paint and the cream was supposed to be lightly pink, I also added some shades here and there as well as some white polka dots on the cupcake paper to make it more fun.
4. Now I cut out the cupcake, after letting it dry completely and decided that I wanted a bright pink circle to go with it. So, I colored the circle I drew with a divider using the same pink as for the cupcake paper, but this time I used less water, so that the color would be brighter.
5. The last, but not the least, I have taken a new cardstock and cut a bit of its edge and applied glue as well as a beautiful floral ribbon to it. I also positioned the circle and cupcake with some foam tape at the back and wrote ''happy birthday'', which is not very nicely written, but I hope to get a stamp set for wishes soon :)
Gallery


I hope you like this very first post. The card is really simple, and I have just noticed that the instructions I have written are quite lengthy. I think that is because I am used to writing lab reports, where you have to describe every step very neatly :D
Thank you for visiting my blog, I'd love to hear something from you in the comments :)
Cheers!
K.
 RSS Feed